
Wednesday, December 30, 2015
Simple New Years Eve Eyes - Almay Intense I-Color Party Bright Swatch and Try On

Today I will be focusing mainly on The Brights Party intense color I-Trio Eye Shadow Palette. The color selection for the Party Brights Palette is on point see swatches and pictures below. The colors are highly pigmented and a little goes a long way. The swatches I tell you are just one application, I did not need to go back the second time so that the shades can be seen on camera, they are that much pigmented.

I did a detailed Review here I-Color Eye Shadow Review Almay Intense . Today's post is just to show you how beautiful the shades are and to also give you quick tips on how you can achieve this simple look.


Here are my quick tips on how you can apply the Party Bright Intense I-Color Eye Shadow Palette.
· I recommend that you use different brushes for each shade (optional)
· You will start off with the lightest shade to cover up the whole eyelid area.
· Then you follow with the darkest (purple) shade to cover the ends of the crease area.
· Then you will take the medium (gold) shade to cover the inner crease area.
P.S. You can also use the lightest shade to cover the tear dots area just for a bit of spark.


(I'm just imagining myself at a New Years Party this year, I must say
that I will most definitely be on point * smiles *)
Happy Happy New Year
xx
Zanele
The Almay Eye-Shadow Palettes were kindly sent to me. Tuesday, December 29, 2015
December Captured


Today is the 29th of December and I must say it is a really wonderful chilled morning but I know that during the day it will get hotter (South Africa!).
Earlier this month I embarked on an Instagram Challenge that I got introduced to last year which is known as either (December PhotoChallenge or Capturing December) I must say that I enjoy these type of challenges because they encourage you to post a picture a day on Instagram and who could say no to that.
I must say that this years Christmas Challenge was a bit hectic because I didn't feel christmassy as usual but I stuck through it and I ended up enjoying it.
I just hope that you had a great Christmas!!!
I would like to know if you like these kind of challenges and how was your Christmas?
XX
Zanele
Monday, December 21, 2015
DIY | Revlon Gel Envy Simple Christmas NailArt


It is that time of the year again when this week will go by so fast (last minute shopping, cooking for the extended family, getting stuck in long lines at the grocery stores, over spending and over eating then it will be over just like that *snap*) but I guess it will be worth it. I managed to create posts that are inspired by this week and I hope that you will enjoy each post as they come.
On my Instagram account I'm doing a fun challenge similar to what I did last year Capturing December 2014 but will only do a blog post about it on the last day of December just to summarize all the pictures that I have captured on Instagram.
Anywho the look that I did below is one of the easiest/beginner friendly look that you can rock this Christmas day, please consult the DIY Nail Art Post for required instruments.
I hope that you enjoy it.

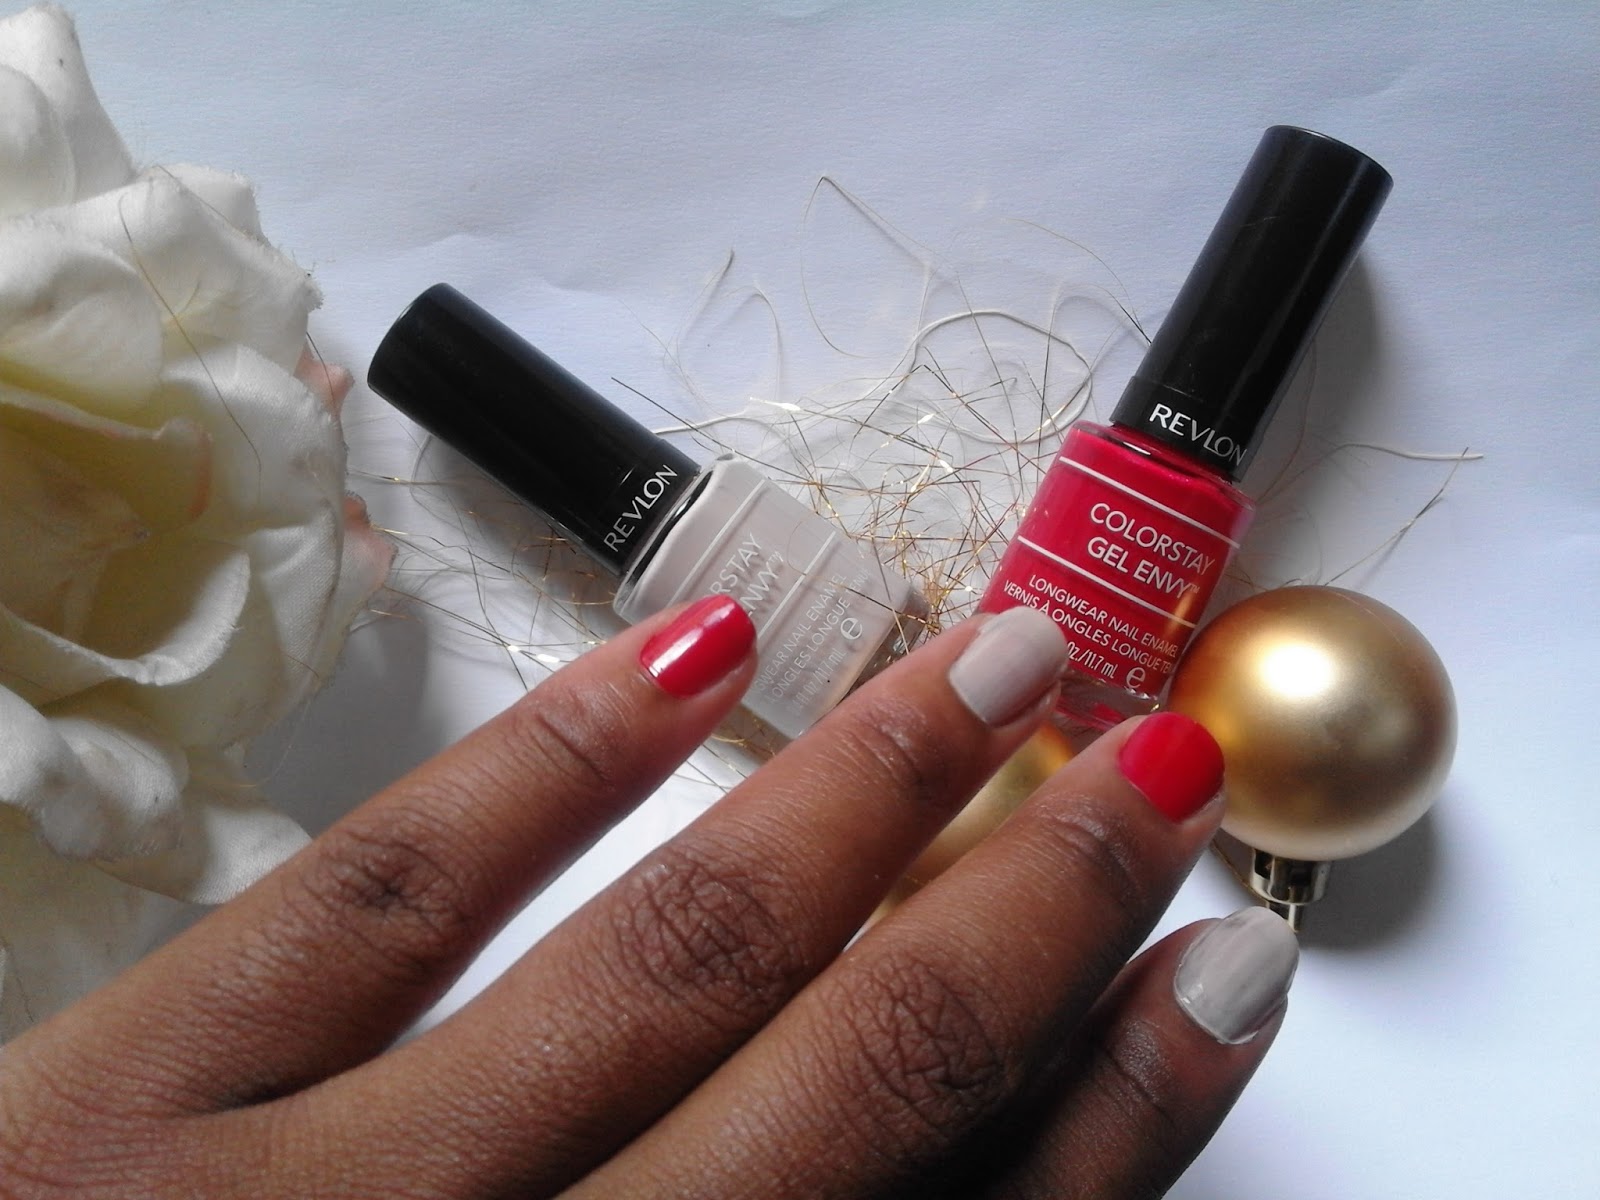


The nail polishes were kindly sent to me by RevlonSA
Related posts - Charlie DIY Nail Art Looks, NOTD Revlon Colorstay Gel Envy Longwear Nail Enamel Roulette Rush and Review | NOTD Revlon Colorstay Gel Envy Longwear Nail Enamel Checkmate
Monday, December 14, 2015
Beauty | Revlon Colorstay Foundation Review


Liquid foundations are my favourite and the *Revlon
Colorstay Foundation has been my go to
foundation for years and today I’m finally reviewing it. Many Bloggers and YouTubers have been raving on how great the foundation is and I also can’t seem to fault
it, let us check why.
Revlon promises a Longwearing coverage with Time Release
Technology and a lightweight formula that won’t cake, fade, or rub off.
Specifically made for combination or oily skin to control oil absorption and
shine. Your look stays flawless
throughout the day.

I usually apply liquid foundations using my fingers and the
Colorstay Foundation is no exception, I moisuturize then I apply my
primer. The moisturizing and primer process are very important because
they make the foundation last longer. Even though it won’t look as fresh after
12 hours it will still be great for you after 8 hours at work provided you are not
sweating and all.
Things I like about the foundation.
The price because it retails for R239 but I
always wait for it to go on sale because you can usually get at discount of up
to R50 off.
The shades in my range, I don’t need to mix it
with a darker or lighter shades to get my perfect shade (I'm shade 013 Caramel 1 )
The foundation is medium and it is build-able.

Managed to also snap a shot of it
so that you can see how it looks like on me. Have you tried the Revlon
ColorStay Foundation? What foundation have you been using the longest?
Wednesday, December 9, 2015
Almay Intense I-Color Eye Shadow Review


I have to say that I have been eyeing the Almay Intense I-Color Eye Shadows which are priced at R209 at Zando for a while and when I was given an opportunity to review them
ooh well I couldn’t say no.
The two eye shadows that I’m reviewing are the Evening Smokey and the Party Brights Intense I-color- Trio. I will start off with the packaging, at the back it has a diagram with instructions on how one should apply the three shades which I love because the instructions are pretty easy to follow.


I will be focusing mainly on the Evening Smokey Intense I-Color Eye Shadow Palette for today’s blog post. The color selection for the Evening Smokey Palette is on point see swatches and picture below. The colors are highly pigmented and a little goes a long way when you apply them. The swatches I tell you are just one application, I didn’t need to go back the second time so that they shades can be seen on camera, they are that much pigmented.


Here are my quick tips on how you can apply the Evening Smokey Intense
I-Color Eye Shadow Palette.
·
Firstly use different brushes because the color
shades are so close(optional)
·
You will start off with the lightest shade to
cover up the whole eyelid area.
·
Then you follow with the darkest (black) shade to
cover the ends of the crease area.
·
Then you will take the medium (brown) shade to
cover the inner crease area.
P.S. You can also use the lightest shade to
cover the tear dots area just for a bit of spark.
Once I have my Youtube Channel back online
I will be doing a tutorial on the eye look.
XX
Zanele
Monday, December 7, 2015
3 Summer Nail Looks | Charlie DIY Nail Kit


Mani Monday is here and Charlie South Africa sent me their
(NAIL IT – Charlie DIY Nail Kit) to try out their new summer shades and have fun creating
some nail art. The kit comes with 5 summer shade nail polishes, 1 top coat,
1 nail filler, 4 wooden sticks (toothpicks) which are mostly used for creating
dots and flowers, a nail polish remover and a manicure tape for creating strips.
The nail art that I have created is beginner friendly and I hope you
enjoy it.
Look 1
 |
| Paint your nails with a base colour (Desire) and wait for it to dry |
 |
| Cut small strips from the tape and paste them as the above picture |
 |
| Alternate painting each nail with different polishes, (Wild Orange) and (Bronzed Up), wait for the nail polish to dry |
 |
| Remove the tape gently |
 |
| Don’t forget the Top Coat for the shine and so that the nail colour can last longer. |
LOOK 2
 |
| Start on a clean slate; make sure that you don’t have any nail polish left over. |
 |
| Paint your nails with a base colour (Bronzed Up) nail colour |
 |
| Take your toothpick and dip it in your nail colour (Wild Orange) without wiping it on the sides, and create your random dots like I did |
 |
| Repeat the toothpick process again using a different nail colour (Fun In The Sun) |
 |
| Wait for the nail polish to dry and apply your (Top Coat) for the shine and so that the nail colour can last longer LOOK 3 |
 |
| Clear out any nail polish that you might have with a nail polish remover |
 |
| Paint your nails with a base colour (Fun In The Sun) and wait for it to dry |
 |
| Cut larger strips like the above picture. Paint over with them with (Summer Daze) nail colour |
 |
| Don’t forget the Top Coat for the shine and so that the nail colour can last longer. |
 |
| Don’t forget the Top Coat for the shine and so that the nail colour can last longer. |
Hope that you have enjoyed today's post and that you will be trying out the some DIY nail art soon. If you have any tips and tricks leave a comment below because sharing is caring.
XX
Zanele
Friday, December 4, 2015
Beauty Wishlist | Holiday/Gift Guide Under $74

I love making wishlists because you just select everything that you have been eyeing for the year and I usually just compile everything in categories, yesterday it was accessories (Link) and today it is beauty (my favorite).
Today the Online Store that I have featured is called Spring and they are inspired by the beautiful boutiques lining New York City's Spring Street in SoHo, and they have created their brand to emulate the experience of having all these shops available in one place, how cool is that!
You can also download their cool app here (App Link) US only.
Have you done your wishlist and shared it with anyone yet?
xx
Zanele
SHOP HERE : shopspring.com/beauty
Thursday, December 3, 2015
Accessory Wishlist | Under R250

Shop Here : Spree (Link)
Images taken from Spree.co.za
Subscribe to:
Posts (Atom)
